It has become apparent to me recently that I am going to have to be more organized as far as grocery shopping and cupboard-stocking go. With a little one on the way, I have had to face the reality that my current habit of going to the store at least every second day is not something I’m going to be able to maintain. It’s time to figure out an alternative.
You might be
asking yourself, “why in the world would anyone want to go to the grocery store
every day?!” Well, there have been a
couple of reasons that I’ve been doing this.
First, I have a really hard time deciding what I want to eat. I have a habit of blaming this on the fact
that I’m a Libra. If I decide on Monday
what I want to eat on Wednesday, who knows whether or not I’ll be satisfied
with that choice by the time Wednesday rolls around! And second, I find that because of my fickle
taste buds, if I forego having a planned meal, the produce I had purchased in
well-intentioned preparation often goes bad.
I hate throwing away food – especially expensive produce! I have found that shopping more often ensures
that we always have fresh produce and waste less. See – those are pretty good reasons!!
Well, the days
when I am able to run to the store on a whim are numbered, so it’s time for a
change! I’ve already prepared my grocery
shopping list (available here) according to the geography of
my favourite grocery store. That might
seem a little “type A”, but I view grocery shopping as a time-based
challenge. The less time I spend shopping,
the more time I have for more enjoyable endeavours.
Now that I have a
list ready to go, I will be able to (hopefully) reduce my number of trips to
the store to 1 or 2 times a week.
(There’s a certain amount of anxiety even in typing that!) This presents me with another challenge. My kitchen is small. I mean, really small. I have one cupboard allotted to breakfast and
lunch foods – this way I don’t have to make countless circles around the room
when I’m preparing either.
And, I have one
cupboard which holds all other food items:

That’s not a lot
of storage! And get a load of the mess
in there!!
So – it’s time to
purge and restock! In the spirit of the closet purge
I did a couple of months back, I emptied everything out of the cupboard and
divided the contents into “keep” and “toss” piles.


Then, after having
taken stock of what I was keeping, I made a list of the items which I should
have on hand as staples. From there, it was
easy to generate a list of what I’d need to purchase to complete my
stockpile. Then, it was off to the
grocery store.
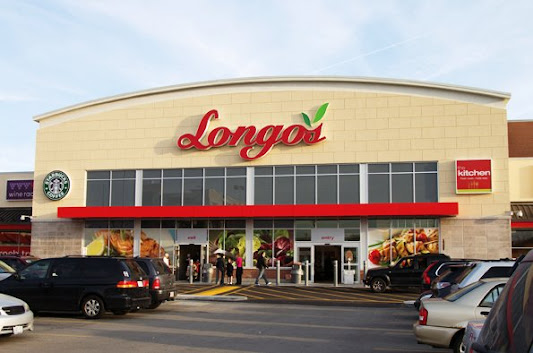
I know, probably
not the most economical choice of stores.
I have vowed to become a no-name-buying, coupon-clipping-mom in May, but
for now, I just can’t give up my Longo’s!
After restocking
and labeling, this is what we’re left with:

Now the challenge
will be keeping it neat! For those of
you who are interested in whether or not I was able to stick to my goal of
doing this in 30 minutes – I was (if you don’t count the trip to the grocery
store). Emptying and sorting the
contents of the cupboard took about 8 minutes; making the list of what I needed
took about 5 minutes; and restocking and labeling took about 15 minutes! (With
the exception of the 3 minute snag I had when my label maker jammed.)
What I decided my
cupboard should always contain:
·
1
bottle of salsa
·
1
bottle tomato sauce
·
1
bottle of hot sauce
·
1 jar
of pickles
·
2
boxes of couscous
·
2
boxes of risotto
·
1 or 2
bags of rice
·
2 cans
peaches
·
2 cans
each of corn and mixed veg (for shepherd’s pie)
·
1 box
each chicken and beef broth
·
Coffee
(regular and decaf)
·
Espresso
(regular and decaf)
·
2
boxes KD (for my twice a year craving)
·
1 box
instant potatoes (for shepherd’s pie)
·
4 -6
cans soup
·
2 cans
tomatoes
·
2 can
beans (kidney and brown)
·
2
pkgs. Dry pasta
·
1 tub
almonds
·
1 pkg.
dry ranch dressing
·
2
pkgs. Fajita seasoning
So I’m now a
little more prepared for having to pre-plan I think. At the very least – the cupboard looks
better, and if I don’t feel like going to the store (or don’t have time), there
will always be something I can throw together to make a simple meal. The next step will be to clean out the
freezer and stock it with some basics!


